Key Features
or
Reasons To Buy
To make a good cue, a really good cue, every detail must be right.
From the original selection of timbers to the pain staking task of accurate splicing and the slow process of traditional oil finishing.
It must all be done right.
1) Shaft

Q: Which MW shaft is best?
A: None. They are all great playing shafts.
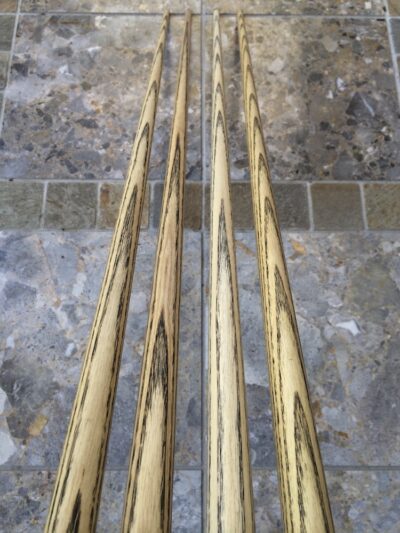
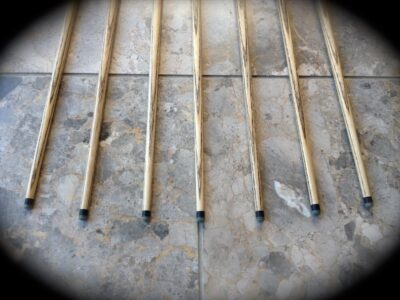
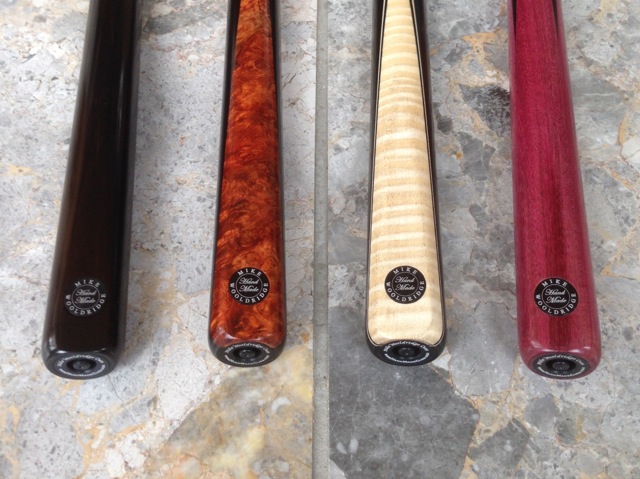
All shafts are selected from the same professional playing standard stock so whatever cue you choose, it will play well and have a nice appearance with at least one or two arrows towards the top of the cue.
Below the bridging area, the grain pattern is out of view when playing, so this section of the cue is relatively unimportant when it comes to how good the cue is. However, the two cues on the left have particularly pleasing grain patterns and would be reserved for possible custom cue use.
Who needs a Standard Shaft?
Players. Good players. Or anyone who just wants a good cue.
These are selected with the emphasis being on at least one or two arrows near the top of shaft where you may sight the cue.
Some may have many more arrows, some may have few, some grain may be wide, some may be tight. Either way, the overall quality of the cue will be judged on how good the shaft ‘feels’.
Most people are content with a good solid ‘playing’ cue, and are happy to accept any grain pattern as the ‘character’ of the cue. This is how it should be, choose a cue that plays well and do not worry too much about what the shaft looks like.
However, some people also crave a very specific shaft grain appearance. This is harder to find, so I grade these premium shafts as ‘Deluxe’ and reserve them for custom orders.
But be very clear – my standard shafts look fine and are chosen because they play well. Besides, more often than not, they are generally better looking than so-called ‘ultimate’ shafts on competitors cues.
What can you ask for?
Whilst you cannot specify any grain pattern for a standard cue, you are welcome to give me a general idea of your preferences i.e. stiff, medium, whippy, lots of arrows, not many arrows, tight grain, wide grain, dark ‘aged’ look, lighter cleaner look etc., etc..
I won’t make any promises but I will try to select something I think you will like from any available shafts I have.
Notes on Maple
Maple shafts have hardly any noticeable grain compared to Ash but are still selected with the emphasis placed on playing qualitites. Thereafter, the clearness and straightness of the grain is considered in the case of custom cues.
Who needs a ‘Deluxe’ Shaft?
Erm…Good question…
Before I explain more, I want to make a very important point about the type of people who usually ‘demand’ this. More often than not, they are relatively inexperienced with little or no idea what actually constitutes a good cue.
If they’re not new to the game, they are usually 16 break players at best, but they simply “must have a shaft with exactly seven perfectly spaced arrows”. They have plenty of money to spend (waste) and quite often an attitude to match…
Collectors have a genuine reason for wanting a lovely looking cue shaft in their collection, but good snooker/pool players rarely place so much importance on this requirement.
Don’t get me wrong, I fully understand why some people crave visual ‘perfection’, and I have no problem looking for it nor judge people when they ask. I’m just saying you’ll rarely get a good player who pays much attention to what a shaft looks like.
So maybe you should consider that fact before the obsession sets in, that’s all I’m saying…
These premium selected shafts are from the exact same professional grade board stock as standard shafts but benefit from the most even of grain patterns.
Finding these most ‘perfect’ looking shaft is both difficult and time consuming. Much wood must be sorted, cut, shaped, and even then, when it gets close to size, it might look good but ‘feel’ wrong. So, not only is there a lot of wasted material costs, but an awful lot of time is lost. It’s like searching for precious stones – when you find a diamond, it’s worth something.
Therefore, any cue with one of my deluxe shafts will command a premium based on time spent and wasted materials. Time is money, and this is the reason why a cue requested with specific grain pattern is more expensive than a standard cue, NOT that it is actually better made or a better playing cue.
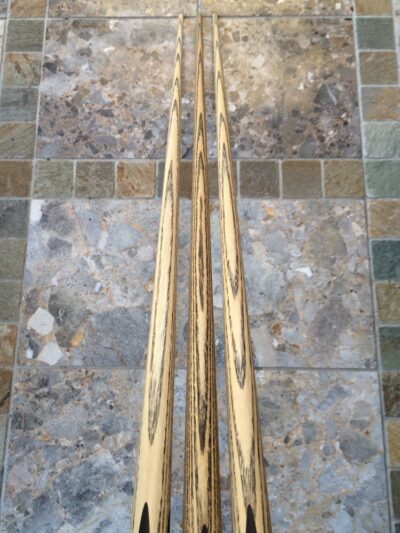
Here are some examples of premium shafts, selected for the cleanest and most even grain pattern:
The next shafts have what is known as a ‘boat’ pattern in the grain, where the grain changes direction, but the overall appearance of the shaft is very clean and even, with nice arrows towards the top of the shaft:
The last type of premium shafts are the ones with very straight lines at the sides. Not commonly requested but these are suitable for those players who like to sight using the lines at the top of the cue:
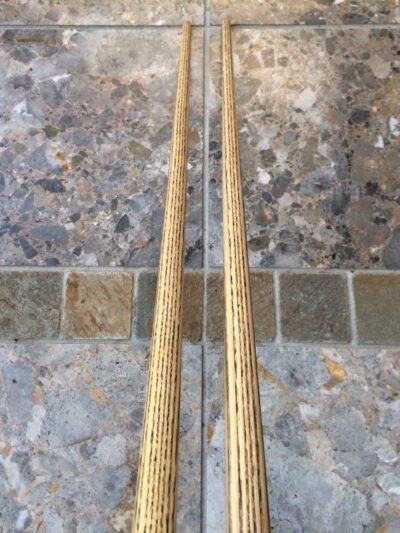
You can see here that the grain runs almost perfectly straight over the bridge area right through to the tip but, be warned, shafts that have grain this straight will often have arrows that are maybe not so clear, possibly longer and more grainy in appearance.
Finding nice arrows on the front together with straight lines at the side is not impossible but usually if it has straight lines at the sides then the arrows are likely to be less clear and even.
Save Money!
Shafts that have minor visual flaws usually end up in the corner of the workshop and get sold off cheaper at some point. I call these sin bin cues and they can be found in the N.O.S. section of shop along when available.
They are as good as any with regards to playing qualities, but for one reason or another I may have ‘rejected’ them because I am not entirely happy with the grain pattern.
This could be any number of minor issues ranging from arrows near the top not quite looking okay to me, a minor blemish somewhere on the shaft, or maybe an area of ‘messy’ grain.
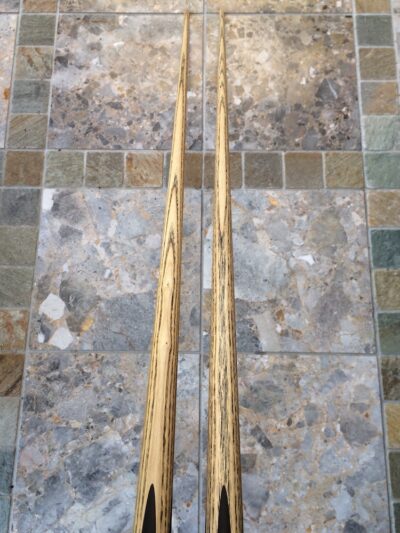
The cue on the left has a couple of areas with minor knots (knots do not affect a cue’s playability) and also some unusual blemishes in the side grain in places, The cue on the right has some nice arrows at the top but a long area of ‘messy’ grain, albeit low down on the shaft.
To be honest, none of these reasons are good enough to reject a cue because they do not affect it in any way shape or form, and there are plenty of people out there who really do not mind what the grain looks like. That is how it should be of course.
Unfortunately, my own standards of selection based on visual appearance are ridiculously high due to years of making/seeing/handling shafts. Throw in the occasional fussy/unreasonable customer and it’s no surprise if a bit of OCD kicks in and these ‘sinners’ end up being put to one side and eventually sold off relatively cheap.
In playing terms they are as good as any cue and, to be honest, 99% of people may never notice or care about whatever it was that made me unsure. In fact, those lucky enough to get these cues often say “Mike, what is actually wrong with this cue?!?”. The answer is nothing really.
To help you appreciate how minor these issues are, it should be noted that I see similar ‘sin bin’ levels of quality on many of the most expensive ‘other brand’ cues that pass through my workshop for repairs/alterations.
Honestly, I don’t know why I worry so much. Hey ho, my loss is your gain…
Sin Bin Cues – The Bottom Line
Build quality is first class, shaft quality for playing is second to none and they will play as good as any more expensive cue.
Put simply, they are great cues, and a more affordable step up for those on a lower budget.
My advice
Choose a cue from those currently available in the shop because the shaft will be of a professional standard regardless. It will save you money and time and can still be customised to any size you want.
But, if you simply must have a certain grain pattern then be prepared to pay a premium for the time and effort spent finding the shaft you want.
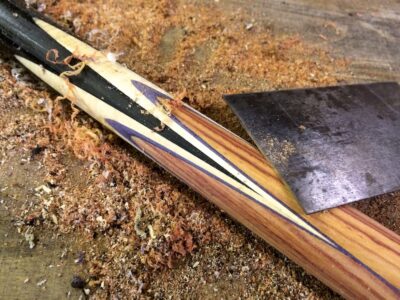
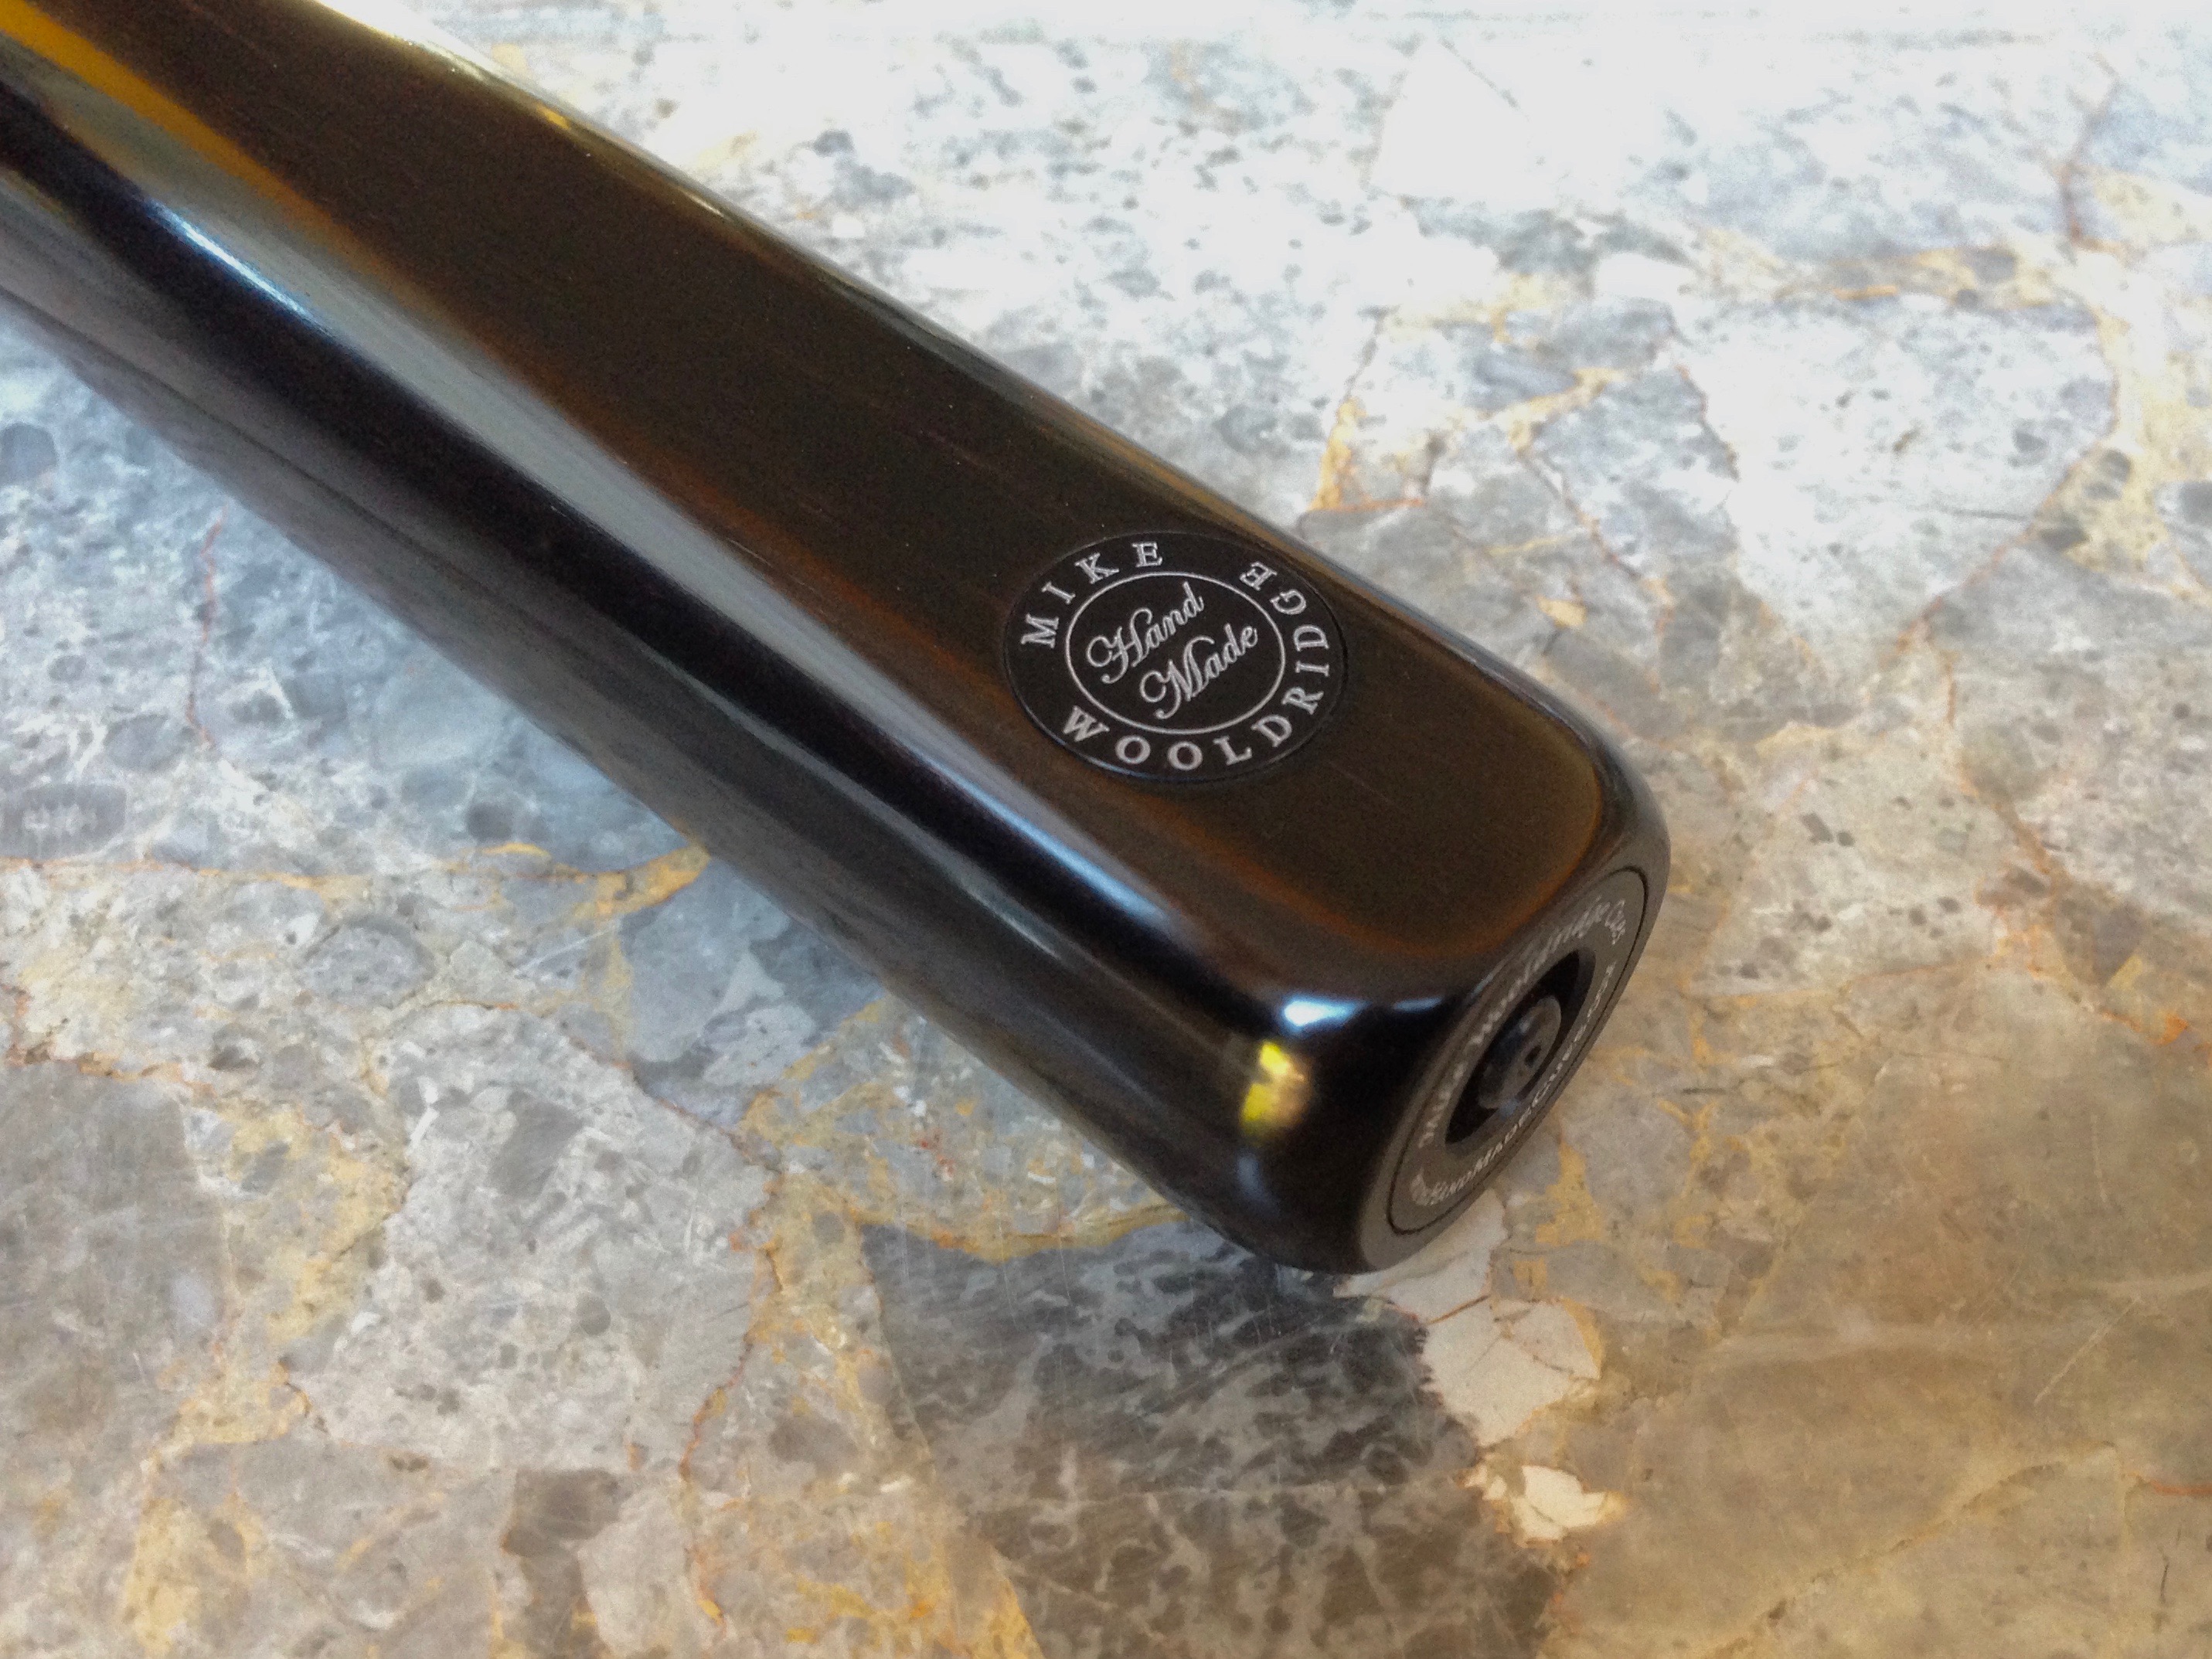
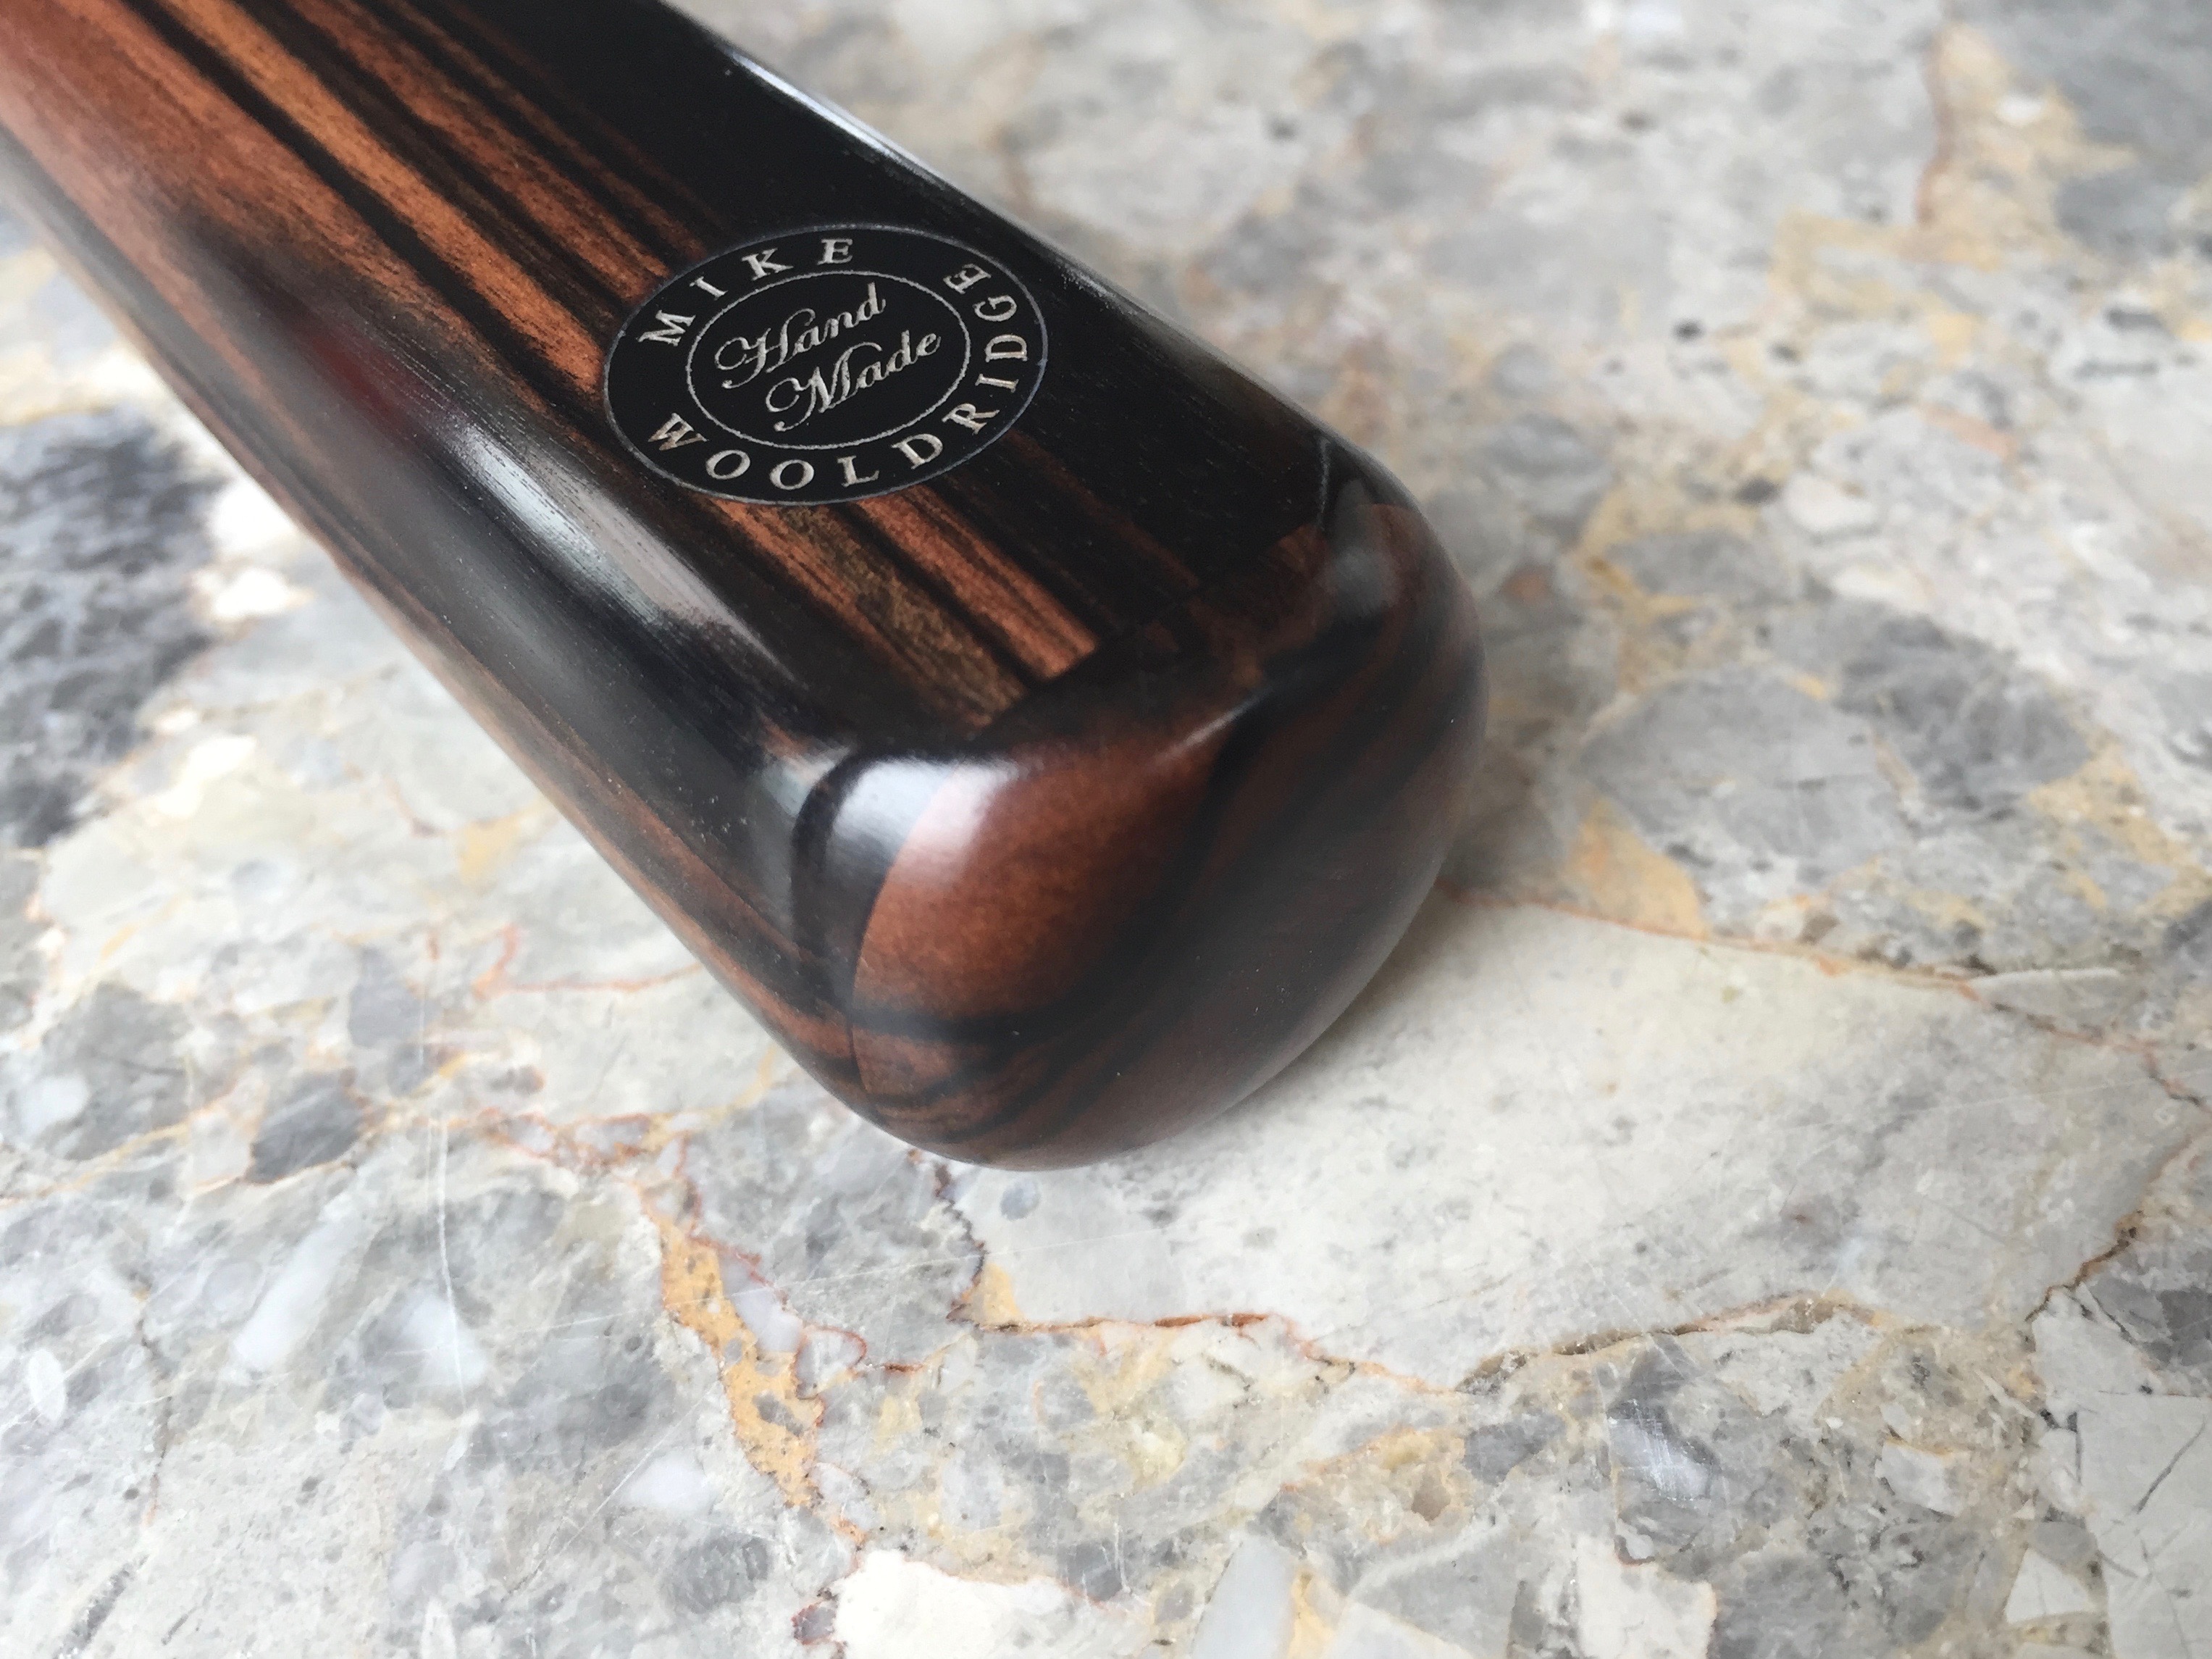
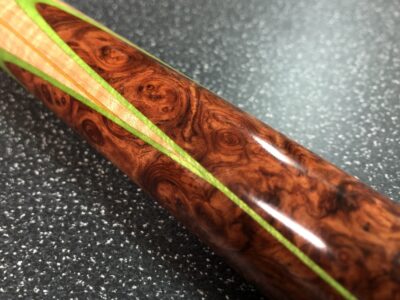
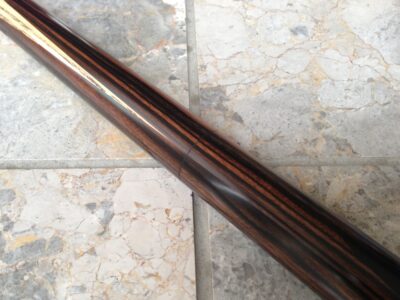
2) Splice
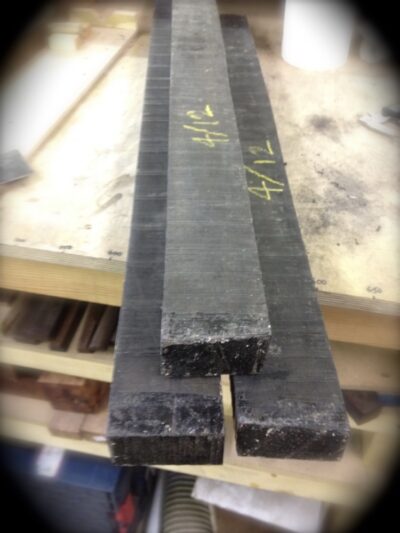
Ebony is used for the butt on most cues and is usually black right through, but may occasionally have small colour variations.
No dyes or ‘fault covering’ lacquers are used to hide the natural features of this beautiful and wonderful feeling wood.
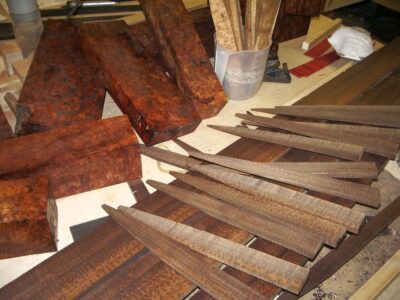
Exotic timbers are bought in bulk and carefully cut to produce the nicest pieces. It’s expensive and a lot gets wasted…
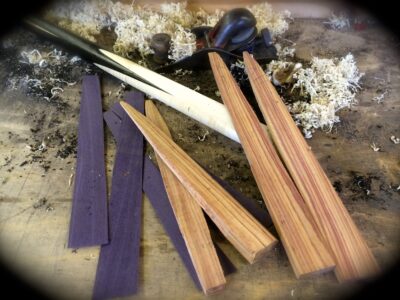
Butts woods are individually hand spliced onto the shaft to the very highest levels of craftsmanship for an unbeatable look and feel.
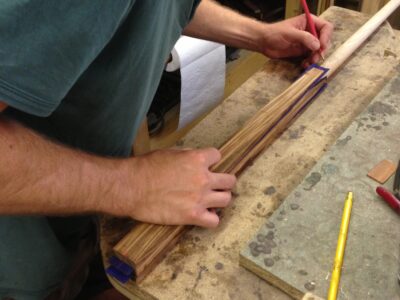
Great care is taken to ensure the splice points, both top and bottom, are even. A skill in itself, and a feature that sets these cues apart from many others.
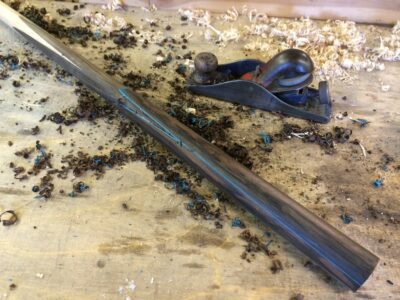
Butt splices are shaped by hand plane before final sizing with a hand scraper, and heavy sanding work to a finish.
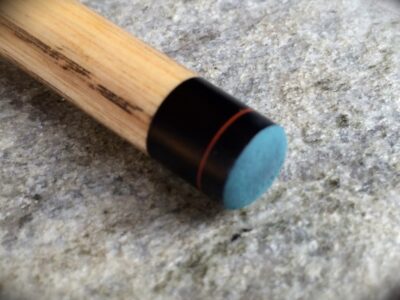
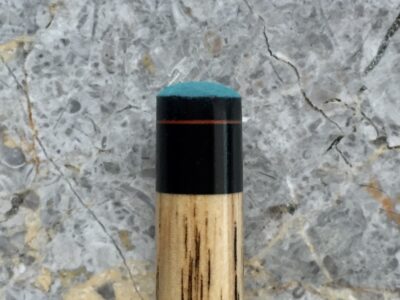
3) Ferrule
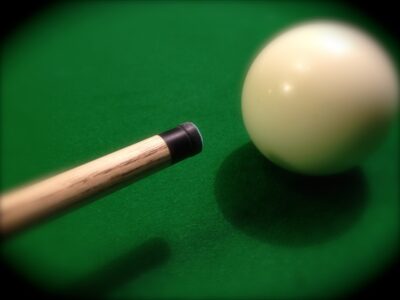
Unique Ferrule & Core Design
MW Cues feature unique ferrule designs that have been developed to improve both the feel and hit of the cue but at the same time offering far superior strength. Featuring an integral core that sits deep inside the cue, these ferrules are far superior to the usual ring type ferrules found on normal cues.
Choose from BlackSpin, the original MW core design ferrule, or the new BullsEye brass ferrule which was developed to satisfy the traditionalists who like the benefits of BlackSpin ferrule and core but simply prefer the look of a brass ferrule.
Both ferrules feature:
- Unique core construction – Strengthens the cue and improves the ‘feel’
- Permanently fixed – Will never come loose or break the wood
- Future-proof options – Internal core design allows change from BlackSpin to BullsEye or vice versa
BlackSpin Features:
- More spin with less effort
- Lower cueball deflection
BullsEye Features:
- Maximum power & punch
- Unbreakable – Far superior than a normal brass ferrule
Below is a more detailed explanation of the original BlackSpin ferrule and core system but the same principles applies to the new BullsEye brass ferrule.
What is BlackSpin?
The BlackSpin system is a revolutionary re-design of a crucial cue component – the ferrule.
• BlackSpin is NOT just a simple black colour ferrule
• Major design innovations inside the cue
• Unique radial stress balancing
• Strengthens the cue and improves ‘feel’
I did not set out to make changes to the traditional method of using a simple brass ferrule, but I recently found myself questioning the thing we have taken for granted for many years. The result is a superior method that strengthens the top of the cue and improves cueball reaction.
Why?
There are major design innovations inside the cue itself which improve strength, and balance the radial stresses in the wood, giving a more consistent contact whichever way the cue is orientated.
Many players will have suffered from a broken ferrule where the wooden shoulder has broken away. In fact, often this may happen several times in a cue’s life and it ends up much shorter than it was originally.
The base of the wooden shoulder is a weak point which suffers from constant impact stress. Sometimes ferrules break simply because the wood is naturally a bit ‘weak’, but if the brass ferrule becomes ‘unstuck’ from the wooden shoulder, then the effect of the impact is amplified as it ‘bounces’ against the wood and can gradually weaken it to such a point that it simply breaks. Not any more…
The BlackSpin ferrule system virtually eliminates ALL weak spots and delivers a powerful, clean, crisp contact, which helps generate maximum sidespin, topspin and backspin.
Put simply – The cue is stronger but, more importantly, ‘feels’ better.
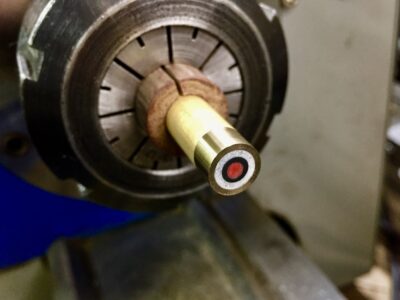
How?
There are two crucial components that make up this system.
The core of the tip end of the cue is replaced with the BlackSpin core. A structurally superior component that stabilises and strengthens the radial weaknesses in the wood structure but, most important of all, it helps deliver the right ‘feel’ on cueball contact.
The unique BlackSpin ferrule design not only sits over the core, it also sits INSIDE the wood. This spreads the effect of impact over a massively bigger surface area and also minimises wood shrinkage problems. The benefit of this is that all the stress is removed from the traditional weak spots and results in a virtually unbreakable cue at the tip end.
Furthermore, the ferrule material itself, whilst very tough and long lasting, has a very similiar density to the shaft wood. This improves cueball reaction over the use of a traditional brass ferrule. A relatively minor point, but nevertheless, one which improves the overall effect further still.
The final benefit of the BlackSpin ferrule is that it looks great on the cue, and makes the point of cueball contact stand out very clearly.
When?
Now – Fitted as standard on all new Mike Wooldridge Cues.
Also available as a retro-fit for any old or new cue, so nobody need miss out on this revolutionary system.
“Once you go black, you’ll never go back…”
What Tip?
You can fit any tip to a BlackSpin ferrule but you MUST use a fibre tip pad for these reasons:
1) During use, a tip compresses and tends to spread out over time. With a brass or other metal ferrule this does not matter as the tip ‘creeps’ outwards from the ferrule. But because tips stick extremely well to BlackSpin ferrule material, this may strain the composite fibres of the ferrule top.
So, if you regularly hit hard on one part of the tip e.g. power screw shots, the tip is constantly trying to ‘drag’ the ferrule top in that one place as it compresses and spreads out. Particularly on smaller ferrules where there is not so much material, there is the potential for this to cause the material to ‘break out’ at that point.
2) If you fit a BlackSpin tip, or any other black or very dark tip, to a BlackSpin ferrule, it can be very difficult to see where the tip ends and the ferrule starts. But using a different colour fibre pad helps to see when the tip needs changing, i.e. if the tip is almost down to the fibre pad, it is time to change tips. This prevents the danger of playing on the ferrule material itself which is guaranteed to cause damage.
An added advantage is that the fibre pad is much easier to remove cleanly from the top of the ferrule, so there is also much less chance of damaging or mis-shaping the ferrule as you clumsily try to tear the old tip off with that blunt blade you’ve been using…
So, whilst BlackSpin ferrules do indeed need extra care when re-tipping, the use of a fibre pad will prevent any problems. Please read the instructions for fitting a fibre pad to any tip further down the page.
Important
Do Not attempt to re-tip any BlackSpin ferrule before watching the video here
It will show you how to re-tip any cue, BlackSpin or plain brass, with no risk of damage to the ferrule. Even if you have re-tipped many cues, I advise you to watch it and take advantage of some very useful tips on how to do it properly. Clearly that is not the case with many of you judging by the terrible condition of the many brass ferrule cues that I get in for repair. Tut tut…
Trust me, watch the video and avoid any costly mistakes.
How To Install A Fibre Pad
1) Use cyanoacrylate glue (superglue) – Any superglue is fine but preferably use gel or thick type because it is easier to control.
2) There is no need to sand the pad but lightly dampen the pad first by wetting your fingertip and touching it on the pad. Then blow on it so it is not ‘wet’ to look at. Moisture helps to cure superglue and also ensures there is no dust/dirt on the pad to cause problems with adhesion.
3) Lightly sand the back of the tip to ensure it is dead flat and clean, then dampen the tip base using the same method used in step 2 above.
4) Put the pad on a flat surface with a spot of superglue in the middle of the pad.
5) Carefully position the tip centrally on top of the pad and press down with finger pressure for a few seconds. Use enough superglue so that a little comes out all round the sides of the tip to be sure the whole tip is stuck. Do not use too much glue so that it drips over the side of the pad or you may stick it the surface you are working on. Your wife/mother’s favourite table probably…
6) Once stuck, use scissors to trim around the tip. The top edge of the scissors should run against the wall of the tip so it’s easy to guide it round and trim the excess fibre off in just a few seconds, leaving the pad almost exactly the same size as the tip.
7) Don’t worry if you’re a little bit out here and there, you only need to be close enough so that you can clearly see you are positioning the tip correctly on the ferrule. But if you leave too much on, you may misjudge and stick the tip off to the side slightly, so try to trim it nice and close.
8) Lightly sand the the base of the fibre padded tip to ensure it is dead flat and clean.
9) If you wish to stick the tip to your ferrule using superglue, dampen the fibre pad again using the same technique described in step 2 above. If you wish to use epoxy or contact adhesive, do not wet the tip.
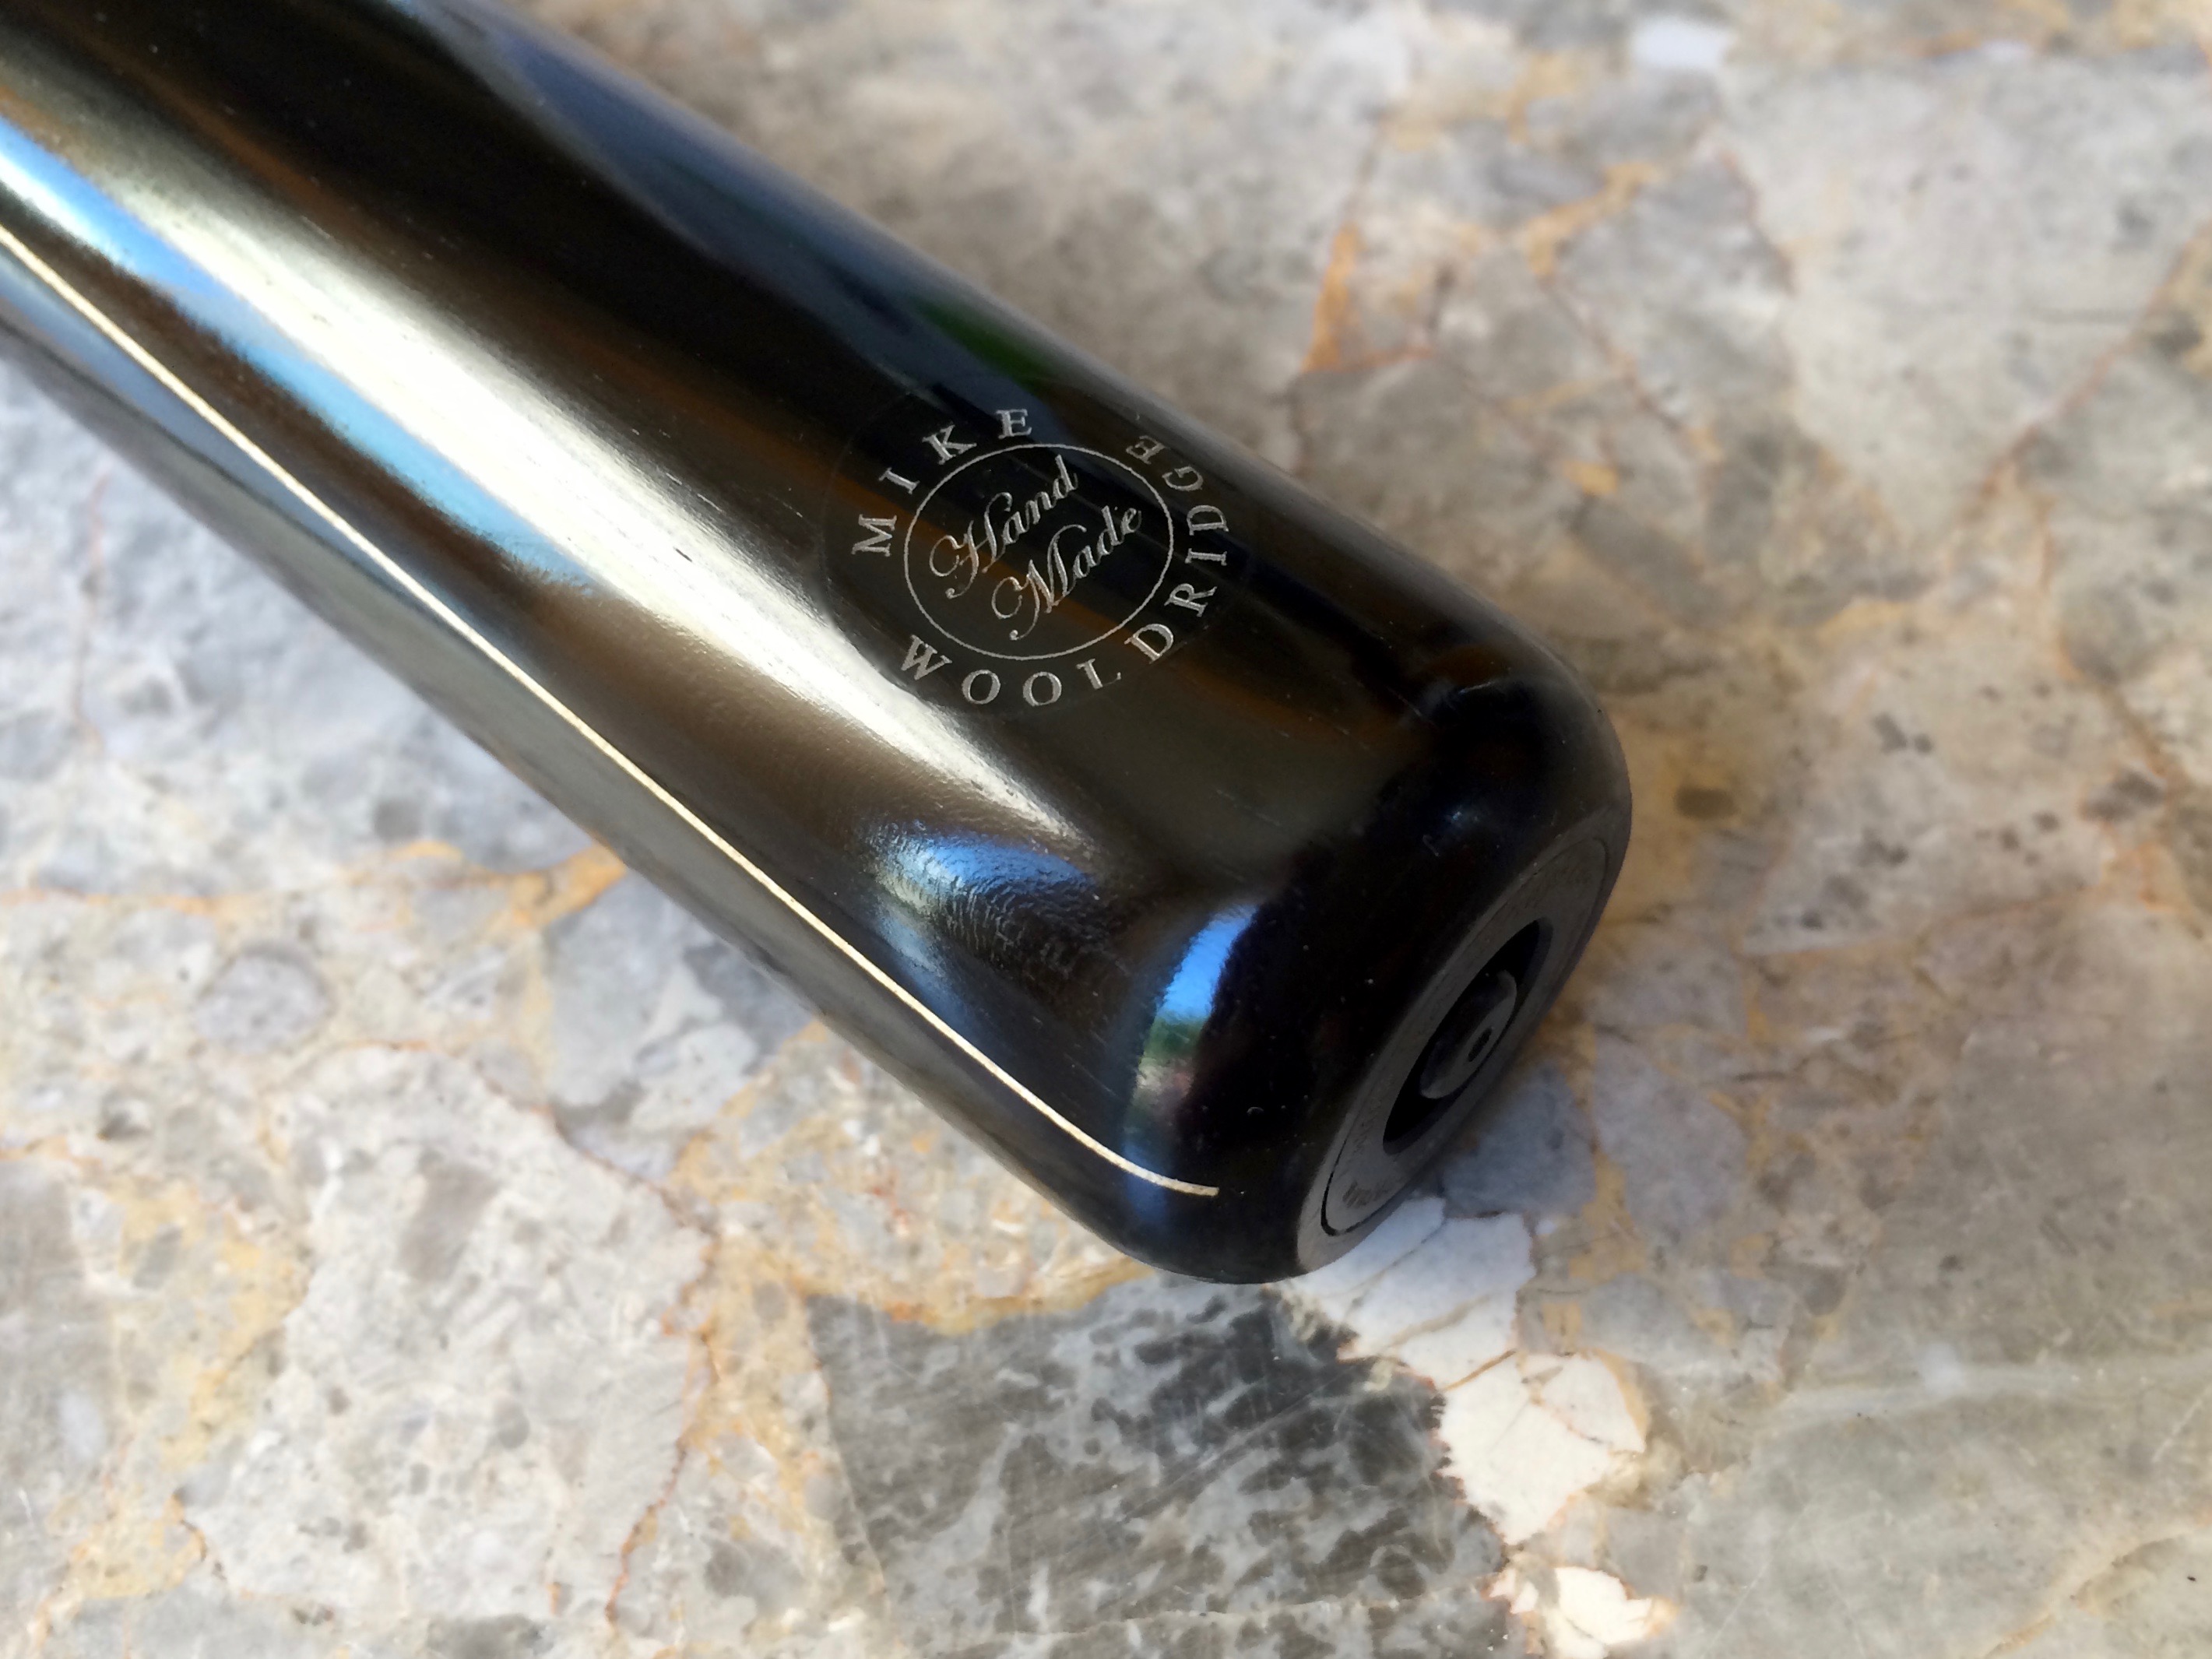
4) Butt
Traditional flat nameplate area and cue bottom are shaped and gently contoured for outstanding grip comfort
Optional F1-X joint fitted to accept extensions
Or capped with solid wood and rounded at the bottom for an even more comfortable grip
Also available as a fully round butt i.e. no traditional flat shape
MW Nameplate
Personal Nameplate

Personalise your cue with any name you want
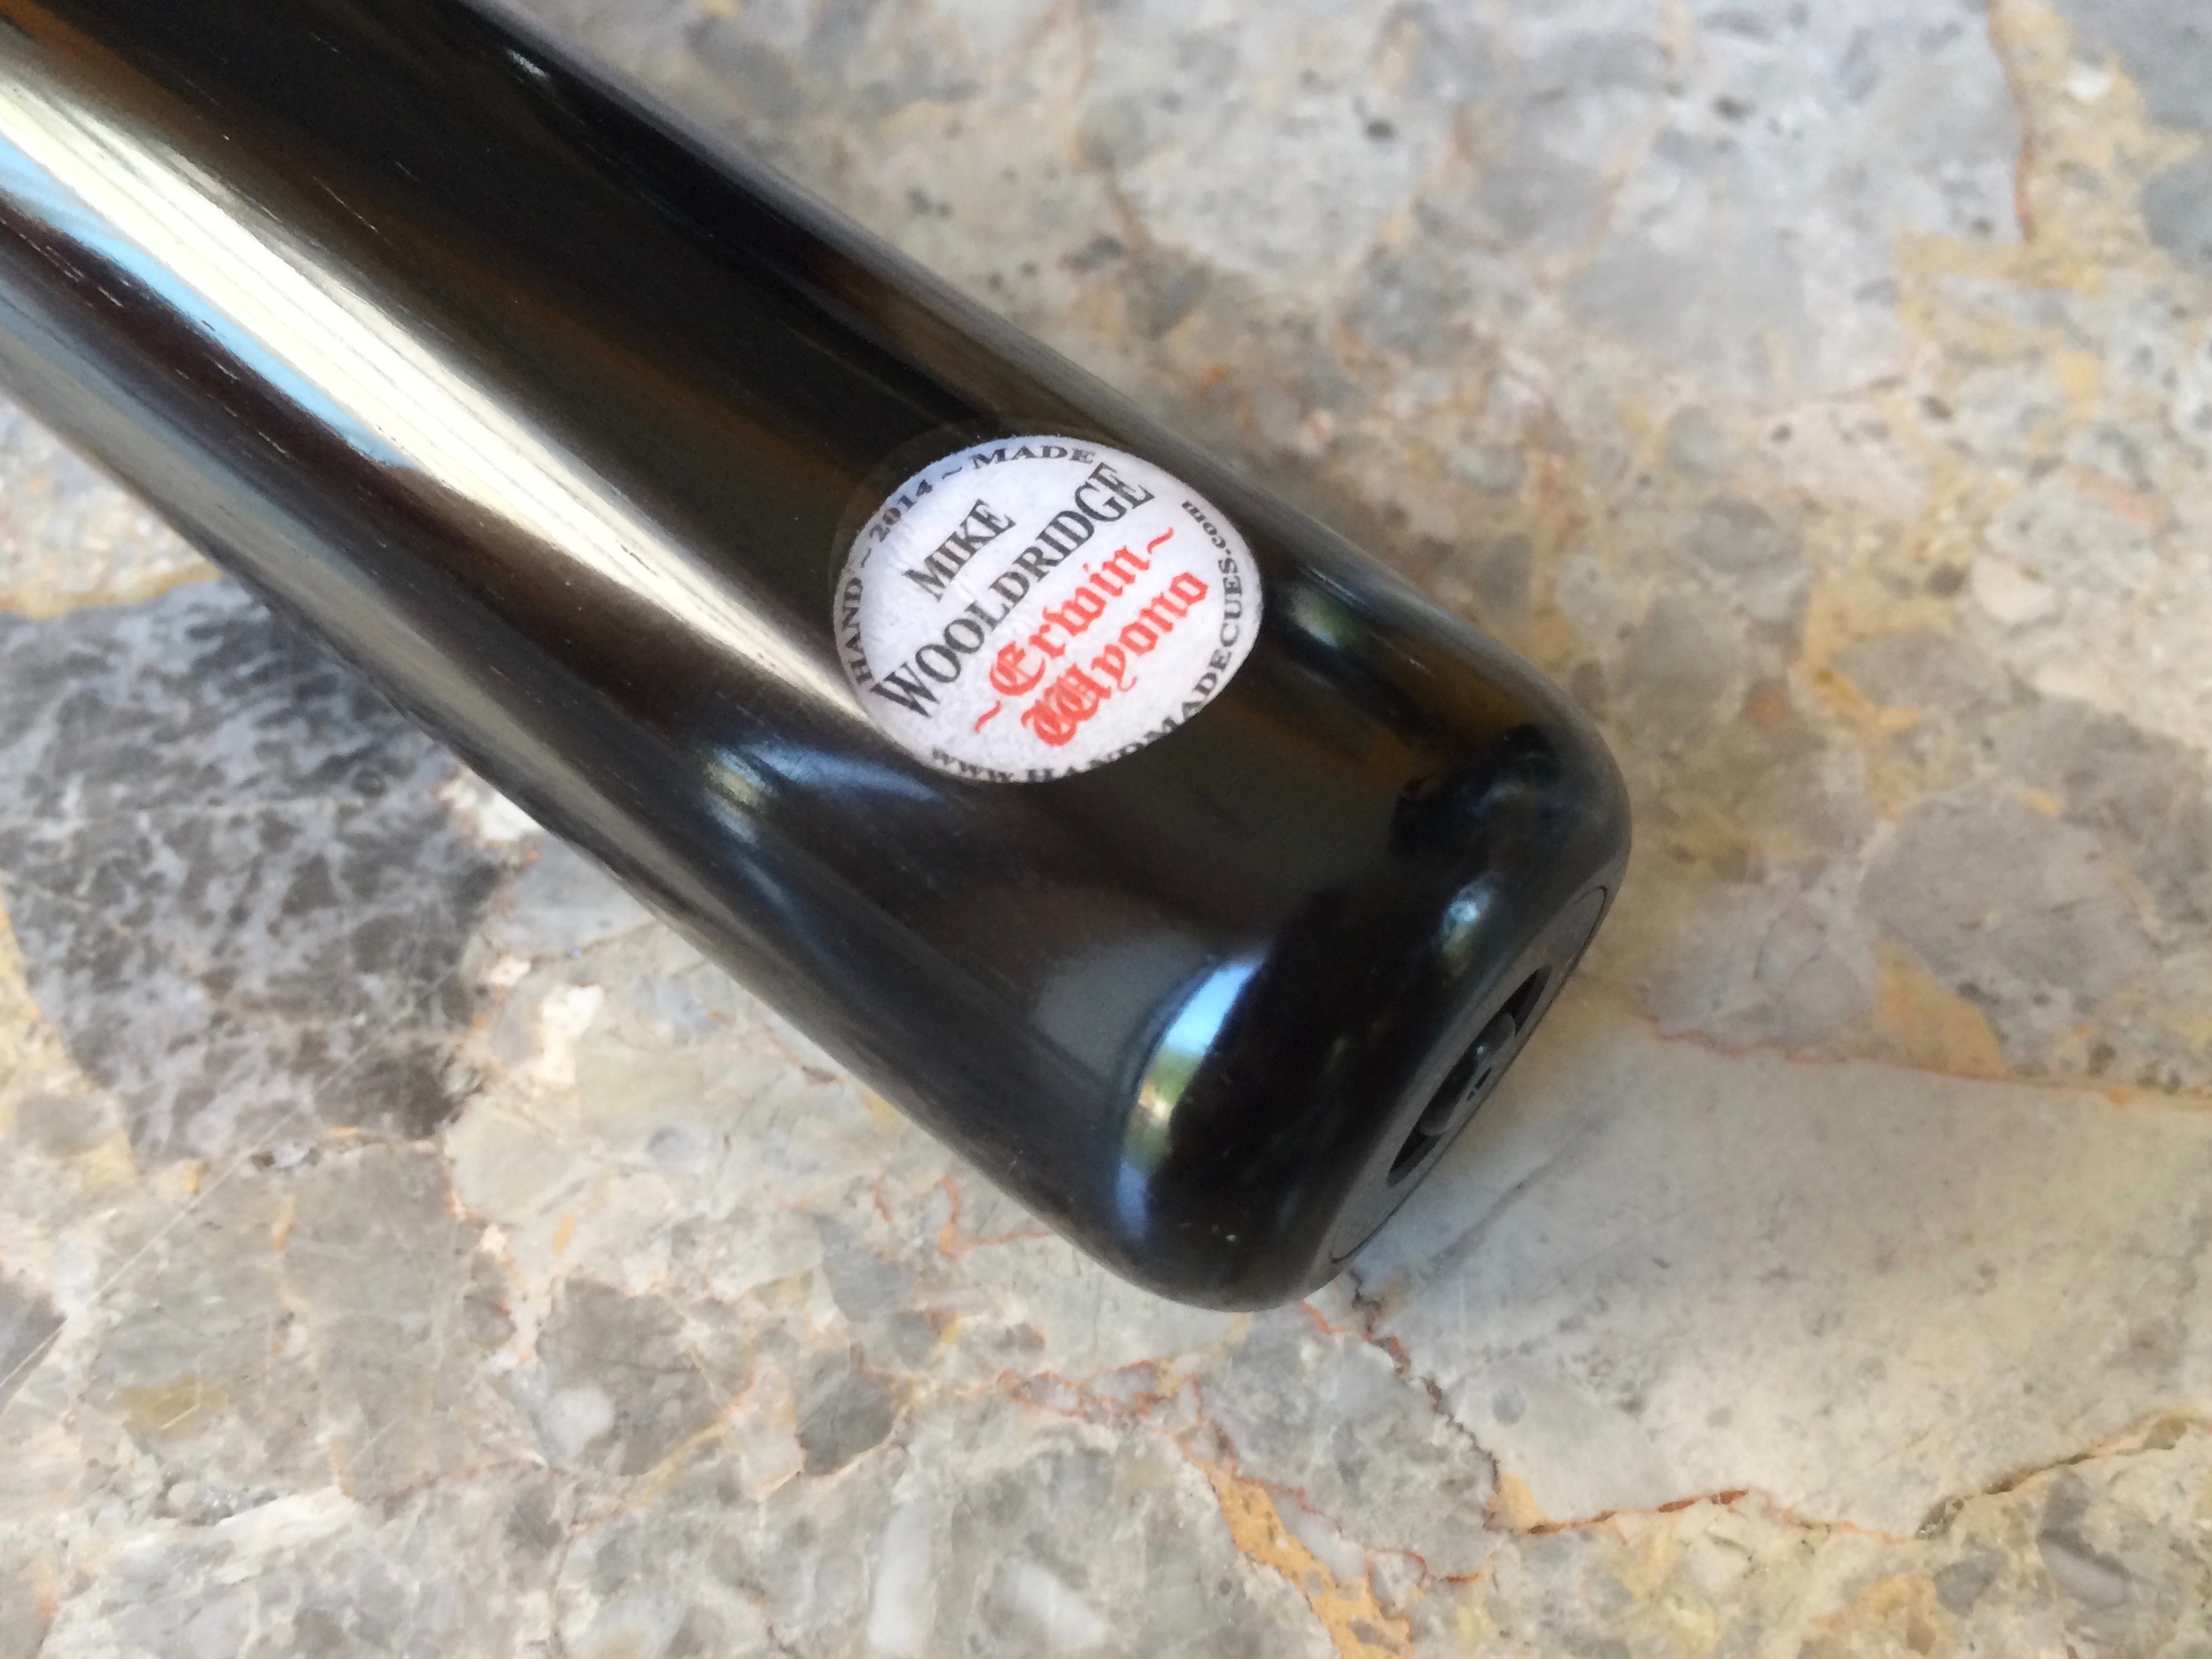
Set into the cue and finished flush with the surface
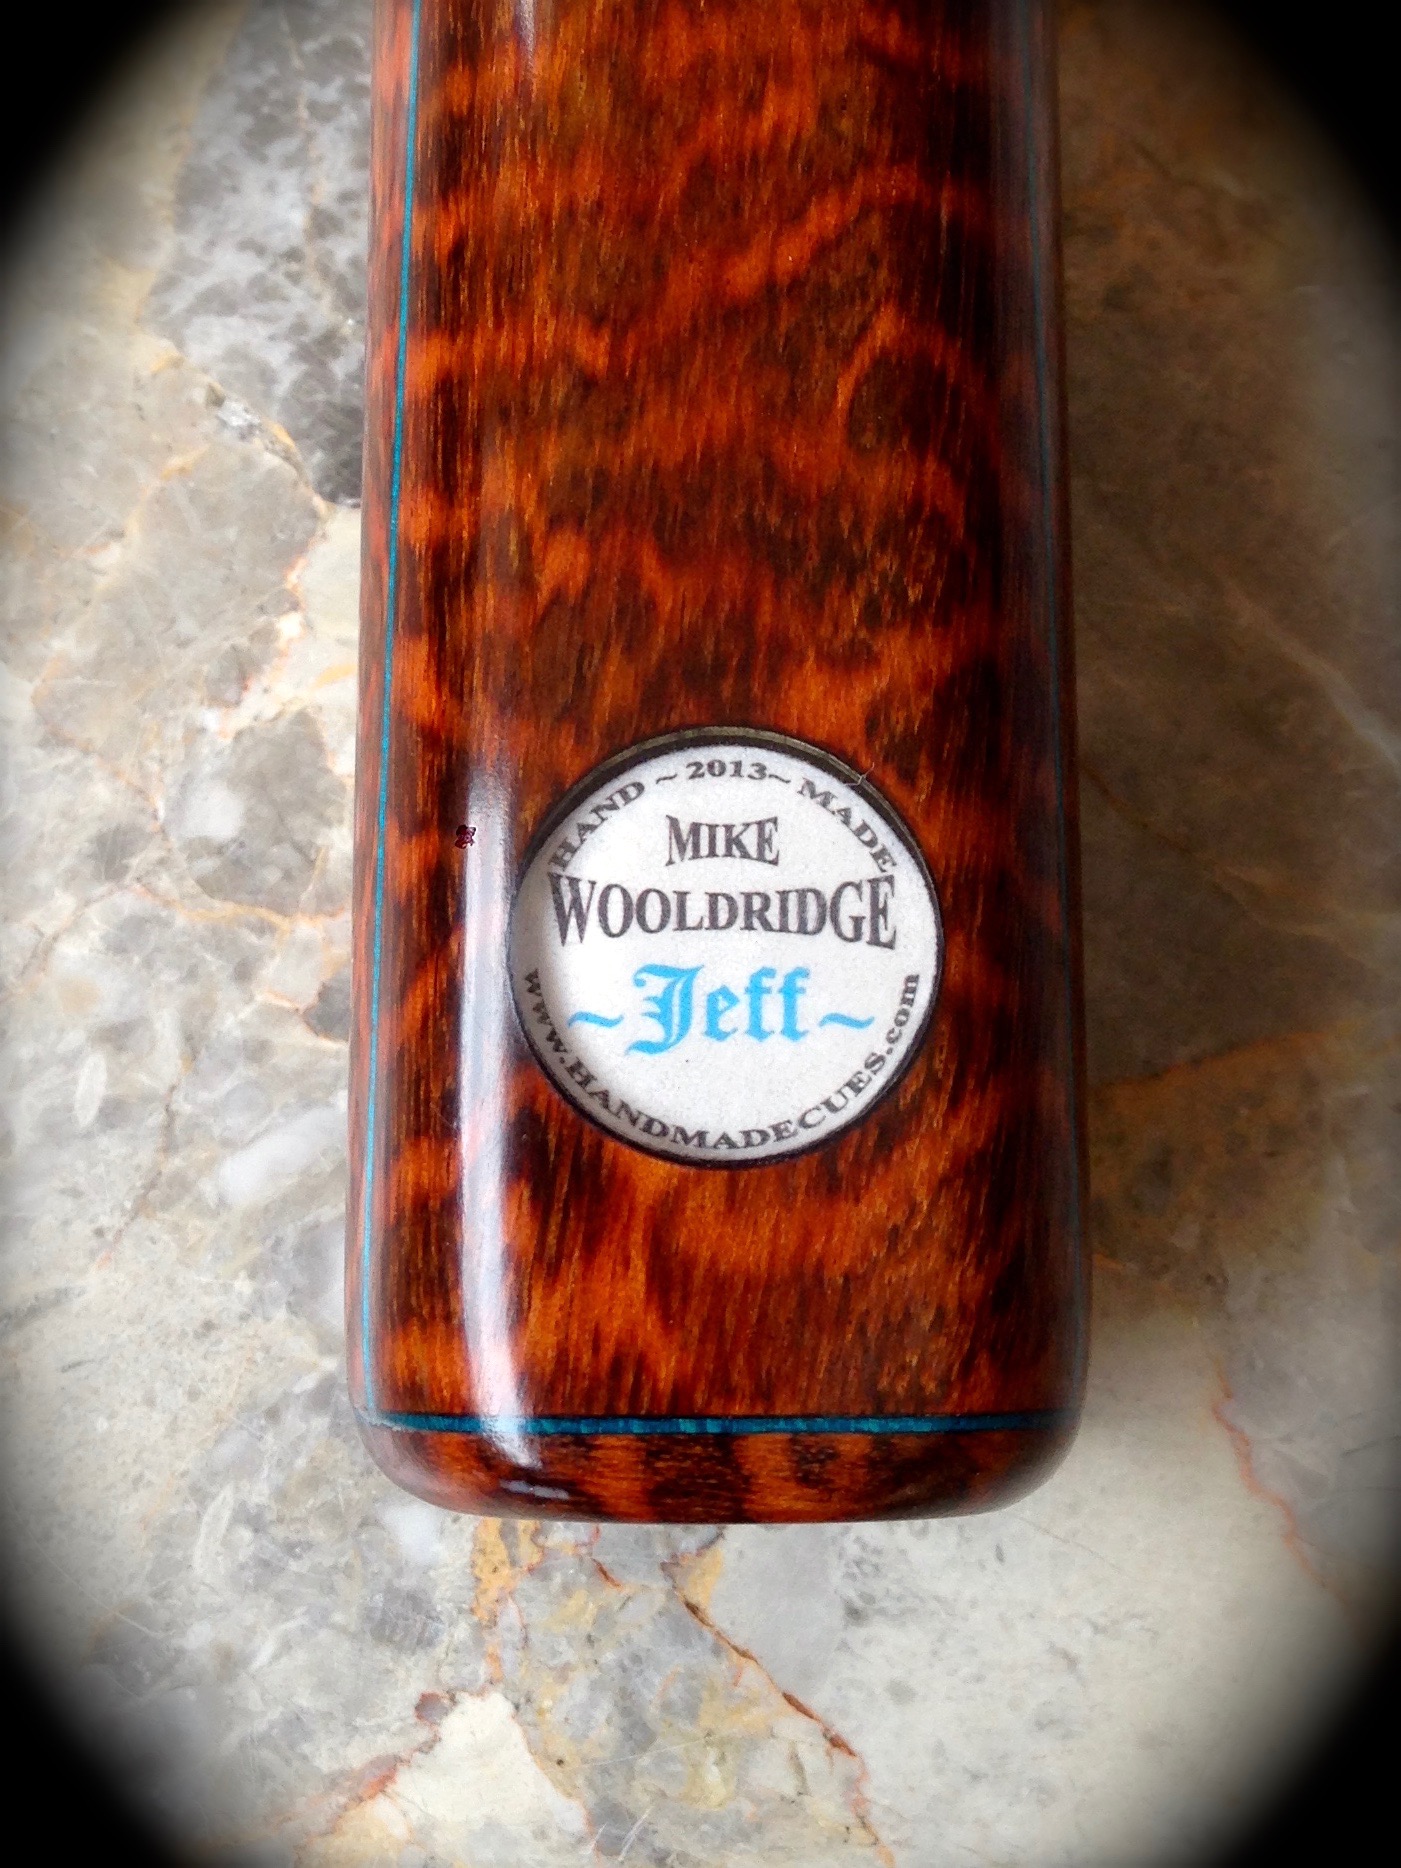
Any name you want, any colour you want…
5) Finish
Traditional oil finishing is used on all MW cues to give a super smooth feel and attractive appearance.
What Is It?
Oil finishes produce a warm and natural feel in the hand, maturing to a rich golden finish over time. Superior on every level to modern sealers and lacquers used on cheap, and some not so cheap, cues.
In my opinion it is the only type of finish that should ever be used on cues and, unlike synthetic finishes, it gets better with age.
But just when you think you’ve learnt it all, something else comes along. Quite by accident, I discovered a new finishing technique which is superior to anything else I have seen or used.
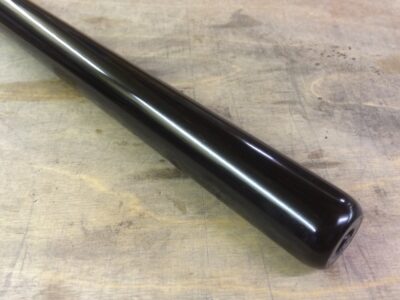
MW UltraShine – The Ultimate Cue Finish
Following on from traditional oil based finishing methods, the new UltraShine process takes it to the next level using natural resins and polishing techniques to impart a deep shine on the finished cue. The colours and grain of the butt wood are greatly enhanced and, to coin a term frequently used, it makes the wood ‘pop’.
At first glance you could be forgiven for thinking it was some type of lacquer finish but I can assure you it is very much still a natural feeling traditional oil finish.
One more reason why Mike Wooldridge Cues continue to lead the way in both quality and product development.
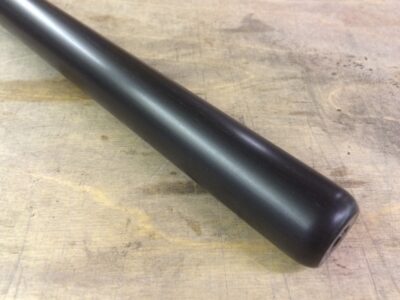
Before
After
Important
UltraShine is not a permanent surface coating and does not work like a lacquer. It is a natural enhancement for oil or wax finishes which may fade with regular use. It may not, but if it does, it can be easily restored with MW Q-Lac.
NOTE
Many cue pictures are taken with a ‘wet’ coat of oil or some thinners to make the wood look much shinier than it is. This is not what you get. Actually, it’s cheating a bit, but who am I to judge the practises of others…
UltraShine is different. The photos here do not really do full justice, but hopefully give an indication of what to expect.
6) Joint
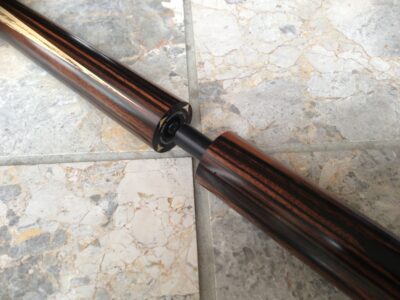
Looks Like a 1pc – Plays Like a 1pc – The Ultimate Joint
F1 Joint
- Ultra Light Black Alloy – Lightest joint on the market
- Very fast operation – Locks in less than a second
- Improves cue ‘feel’ over normal joints – Plays like a 1pc
- Unique internal design – Reinforces butt and shaft to resist splits/breaks
Over a year in development, my unique F1 joint and extension system improves even further the ‘feel’ and look of all Mike Wooldridge Cues.
Engineered to incredibly tight tolerances, the F1 joint is light years ahead of ‘normal’ joints found on other cues.
Watch the slideshow and see exactly why it is superior to standard joints, on every level:
“ADD VIDEO OR YOUTUBE LINK HERE”
Superior Design
1pc cues feel great but many players prefer the convenience of a jointed cue, so the quest for a superior feeling jointed cue has long been an issue.
After many years of experimentation, my new F1 Rapid Joint System makes a jointed cue play like a 1pc. Very fast, very light, and with a critical wood to wood contact, this brings jointed cues as close to a 1pc ‘feel’ as possible.
Shaft and splice length are equally important factors. So much so, that all my jointed cues are based around the classic design and splice length of my 1pc cues, with the joint situated just below the splices and virtually invisible due to the wood to wood contact. The benefit of a longer shaft section is improved ‘feel’, and the weight distribution is closer to a 1pc, resulting in an all round superior weight/balance ratio.
7) Extension
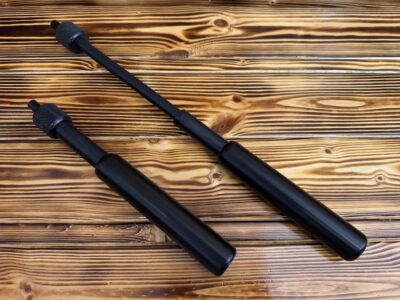
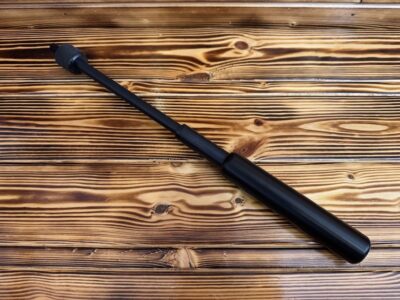
F1 Midi – Radical and innovative design – Unique one handed operation
Sleek, elegant, and simple to operate with an ingenious one handed operation, unlike any other extensions on the market.
Features a high quality, super smooth piston-like action and solid ‘feel’ throughout along with a unique handle design to feel closer to a ‘proper’ cue butt.
The Rolls Royce of telescopic extensions…
Note
F1 Midi has replaced F1 Mini. It is only a little longer but enables you to reach many more shots without using the rest. Along with reaching more shots with the rest without having to resort to half and long butts/rests
F1 Long has been discontinued due to engineer and supply lines issues.
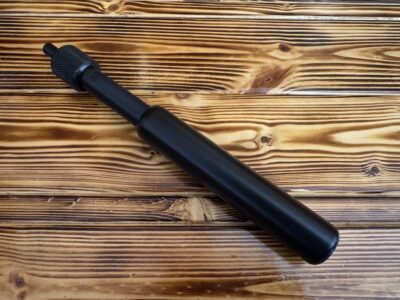
F1 Midi – Covers many shots without having to use the rest
Important:
F1 Joint System is NOT compatible with AirTwist, AirLock, or with ANY other joint.
*NEW*

Now available to fit other cue brands
