Butt Splice
The Cue Makers Art
Choosing the right shaft wood is critical because the shaft is the single most important part of a cue. But that is only half the battle…
The butt pattern needs to be created by splicing hardwood on to the shaft.
Ebony is the most common main timber found on quality hand made cues due to it’s classic black look and naturally dense grain structure which lends itself to an excellent finish and comfortable feel in the hand.
Various attractive exotic hardwoods can be spliced onto the Ebony, but they are not necessary and serve purely as a decorative option.
This is how it’s done…
Main Butt Splices
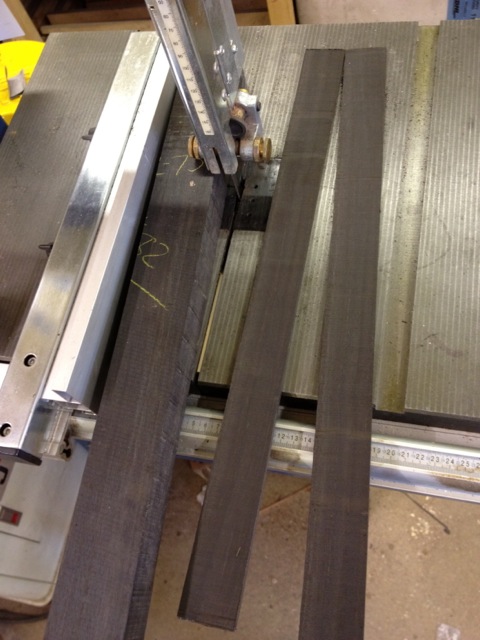
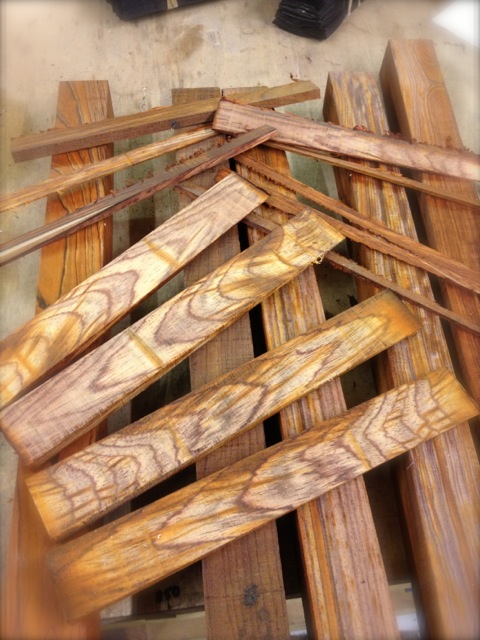
1) Find some nice Ebony, or any suitable hardwood.

Cut four splice size shapes approximately 40mm wide and tapering in thickness from 15mm down to 5mm.
You can make it smaller, depends how confident you are and how deep your splices need to be to make the finished butt size.
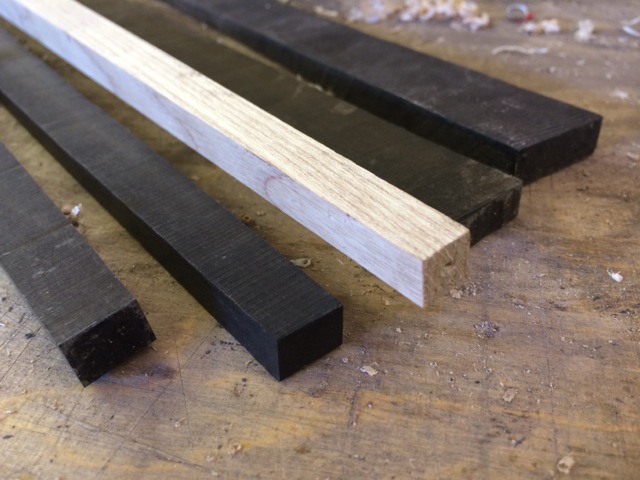
2) Cut or plane four sides off the prepared shaft to look something like this:
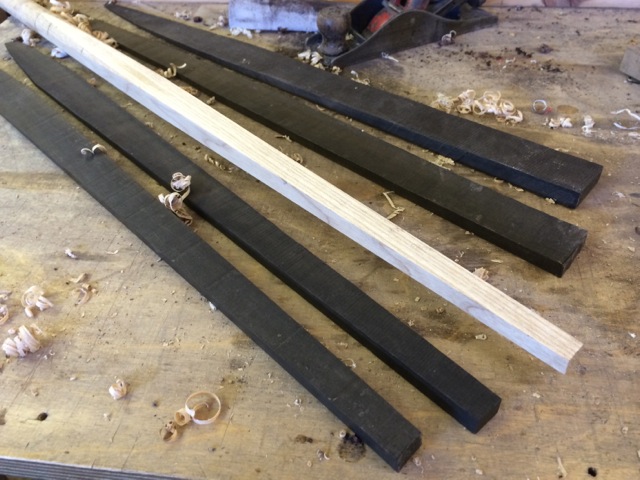
Go down evenly on all four sides leaving a square shape at the bottom.
Note – You could just cut two sides at this point, but it helps to see where the bottom points of your splices will end up if you cut all four sides now.
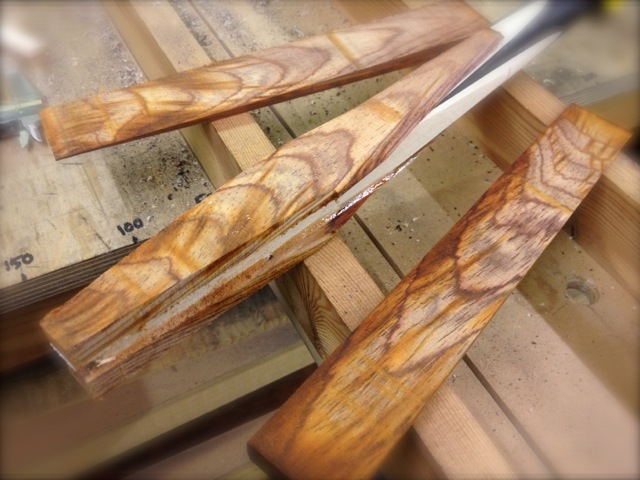
3) Use glue to stick two opposite splices on – You can do this together or one at a time.
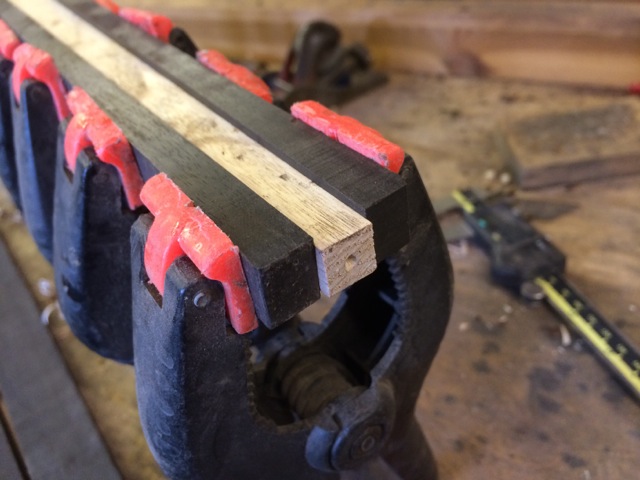
If you want even points you need to take measurements and mark guides.
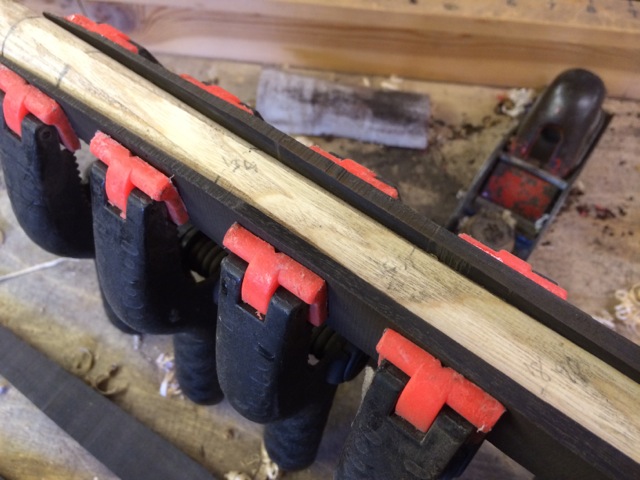
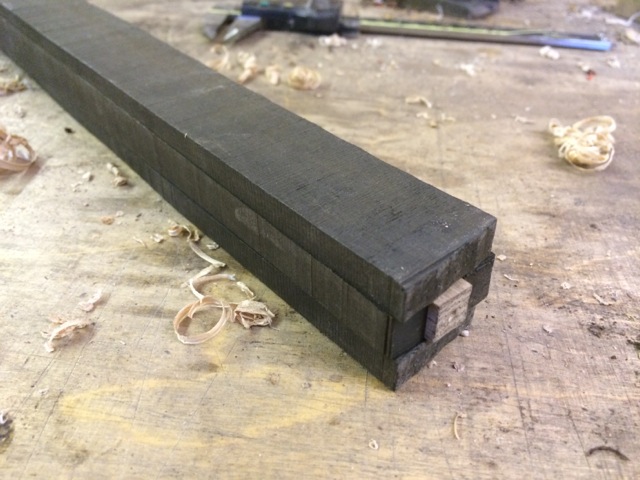
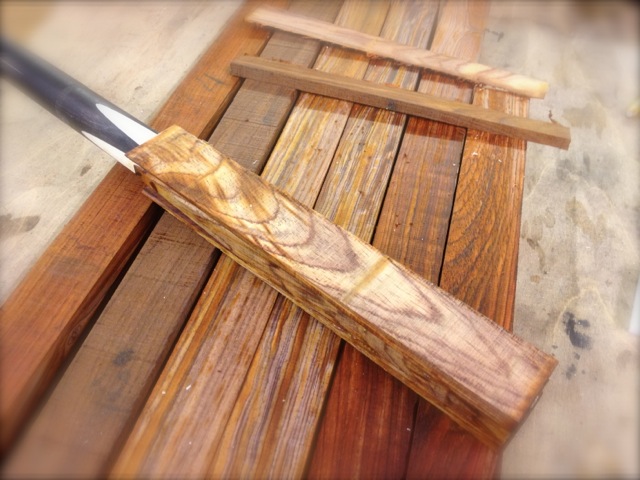
4) When the glue has set on the first set of splices, you must cut/plane the remaining two sides to make the Ebony level with the Ash, and then glue the next splices on – Again, together or one at a time.
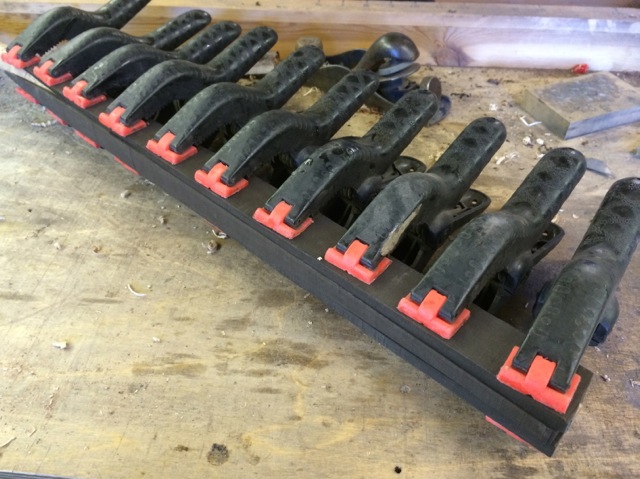

You now have a square cue butt, ready for shaping.

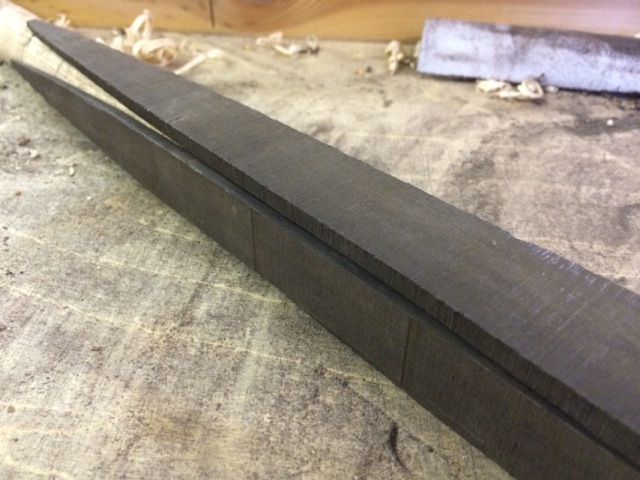
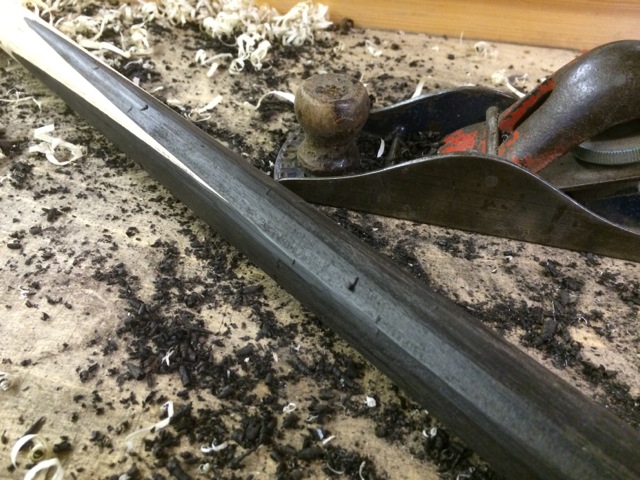
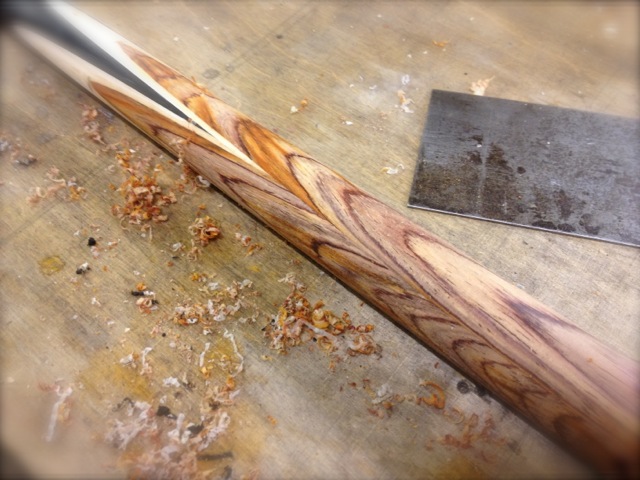
5) Plane the corners off until the Ebony is close to size and shape. Watch out for tears, as in rips something out, not the tears you’re gonna cry when you hit a dodgy bit of grain and see a chunk of Ebony tear out as you plane it…

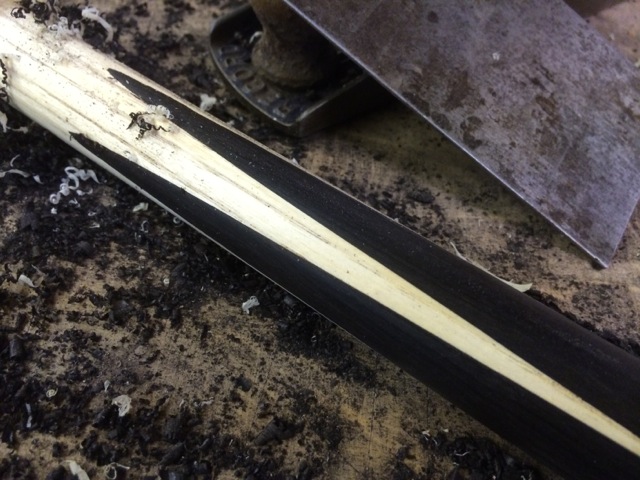
6) Follow up with a scraper for the finer detail work, paying attention to high points and areas that are ‘out of round’.
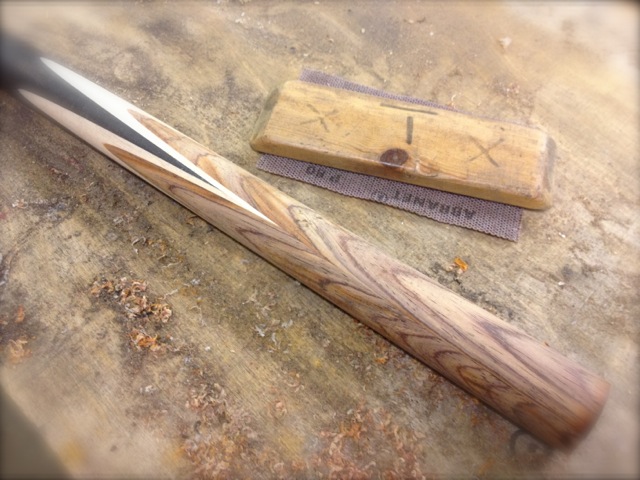
When you’re happy with the general shape and feel of the cue in your hand, get ready for some seriously heavyweight sanding – Don’t forget to wear a mask…
7) Start with something like 120 grit sandpaper then work through the grades 150, 180, 240, 320, 400, 600 etc.. Do not skip a step, you will end up with scratches you missed and the final finish will not be good
Use good quality abrasive, something like cloth back aluminium oxide. Do not use the cheap paper backed stuff you find in DIY stores. Trust me, it will take longer and you will not get the same quality of finish.

After several hours, if you haven’t given up or choked to death, you should see something like this:
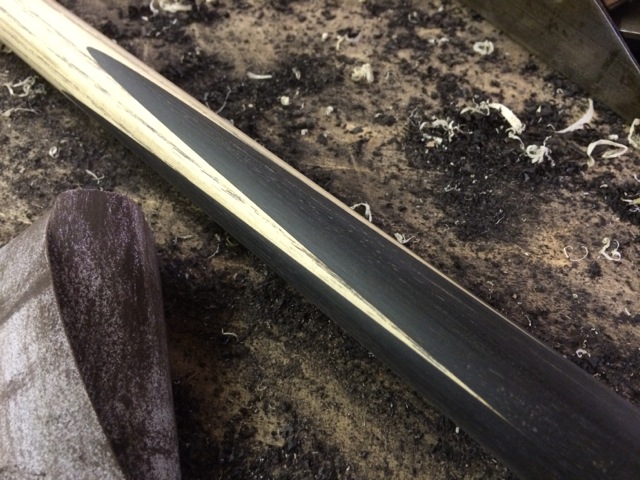
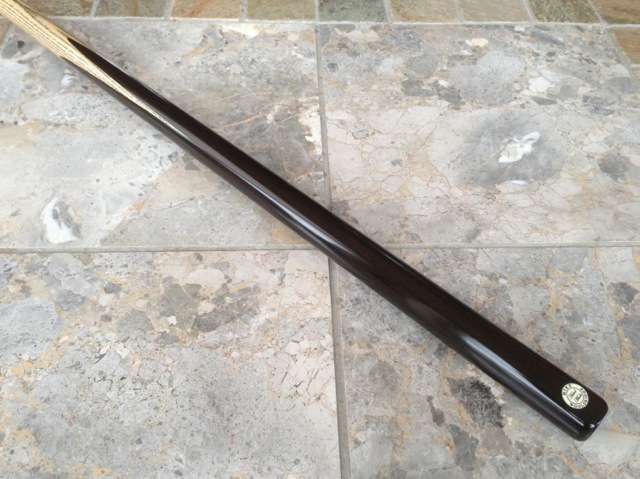
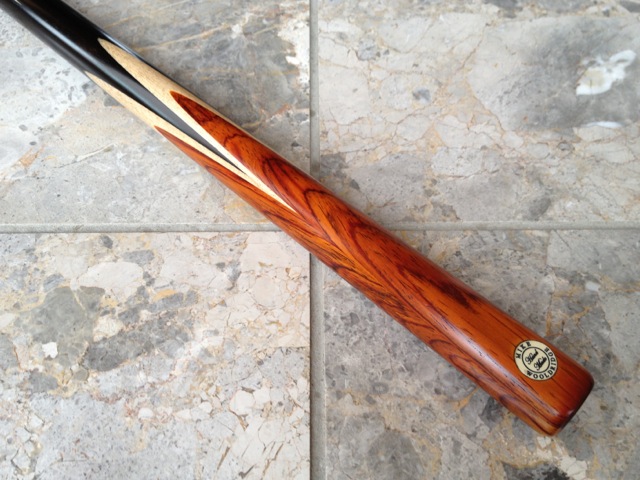
And many more hours later, the finished article:
Additional Exotic Splices
Once the main butt is spliced, more splices can be added to create any number of patterns.
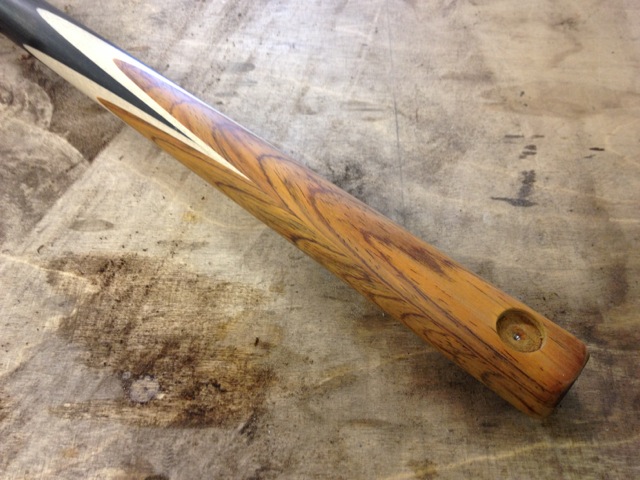
Ooh look, I found some gorgeous Cocobolo…
I’m going to add this over some 4pt Maple I spliced on earlier – First up, Splices 1+2…
…Closely followed by splices 3+4
Cut/plane/whatever to get it close to round, finishing with a scraper to improve your shape
Time for more elbow grease and some heavy sanding. Joy…
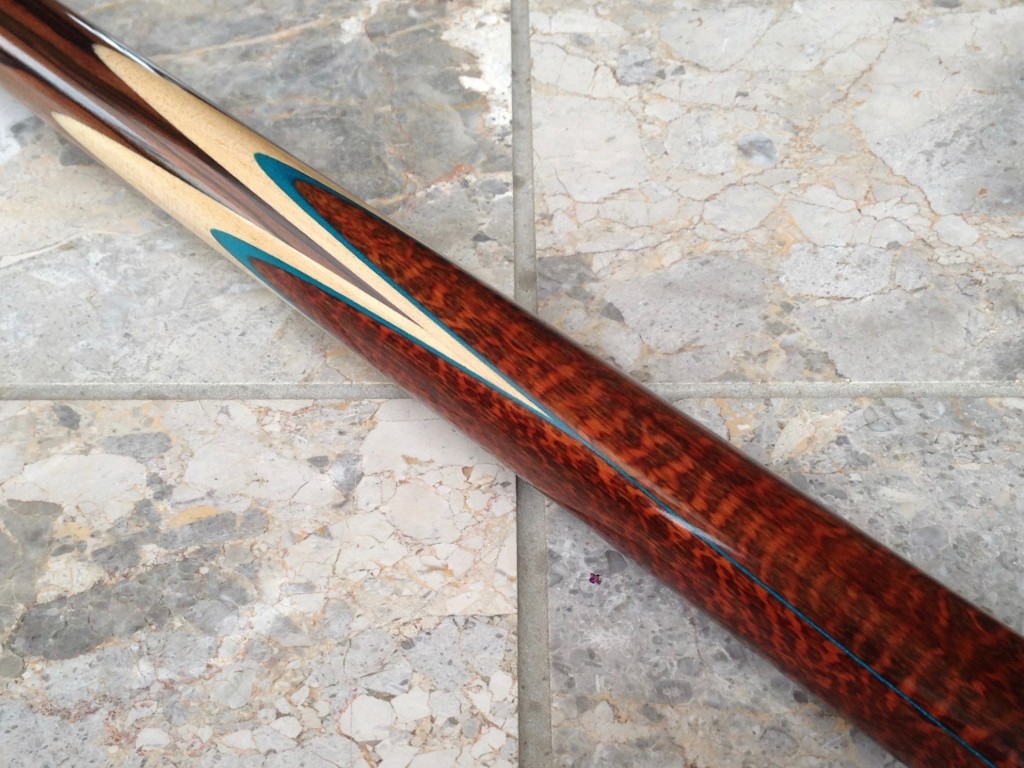
Cocobolo changes colour as the oils move to the surface. This has been left a few days:
Altogether now – WOW…
Final Note
Adding splices is relatively simple – Making a cue with accurate splice points is not.
Great care must be taken at every stage, particularly the early preparation, to ensure every point, both top and bottom, ends up even on the finished cue.
You’ll be very lucky to find that on the vast majority of other cues…
Next Step – The Finer Details
